
How to Set Up Your Swivelmate Knee Walker Rental
- The Swivelmate Knee Walker is an unmatched model that allows you to make very narrow turns, no need to constantly be making three-point turns.
In this guide, we'll go over how to unbox and set up your Swivelmate knee walker rental. The Swivelmate is a tool-free assembly—making the setup process very simple and quick. In this guide, we'll go over the following:
What's Inside the Box?
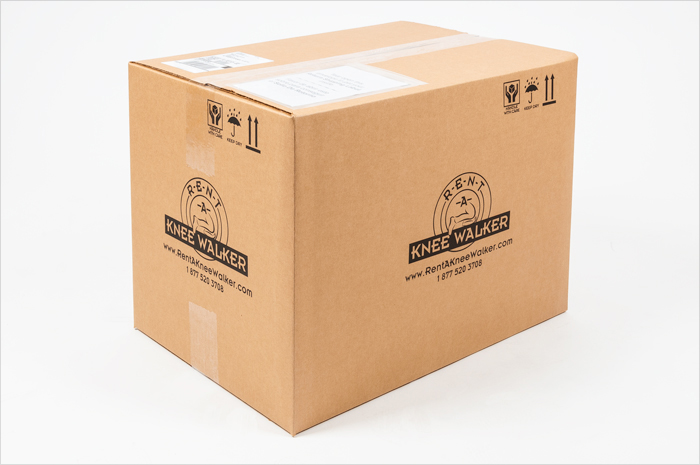
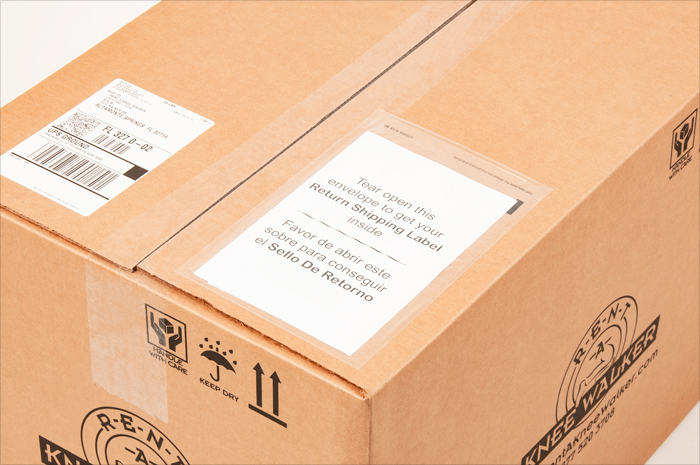
On the box, you'll find a sealed plastic envelope. It contains printed mailing instructions and a return shipping label for when it's time to send the knee walker back. We recommend you leave this sealed for now with the box. It is very important that you save this box (and the cardboard insert inside), you will need it to pack everything up and send it back to us at the end of your rental period.
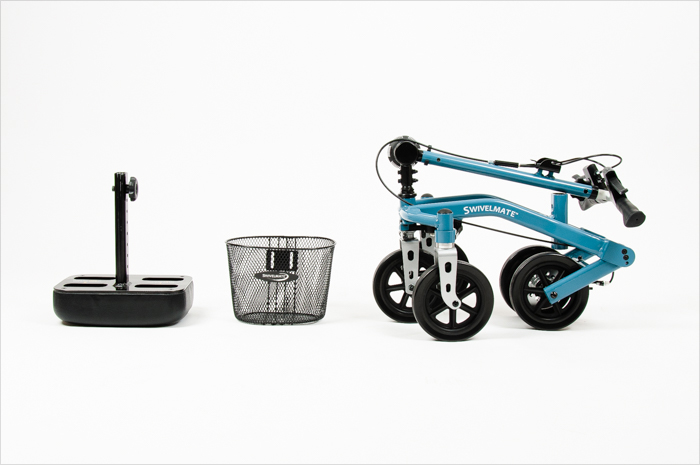
Inside the box, you'll find the main body of the knee walker, the knee rest post, and a travel basket. Unpack these items, and again, store the box in a secure place. Make sure you're assembling the knee walker in a stable and leveled surface.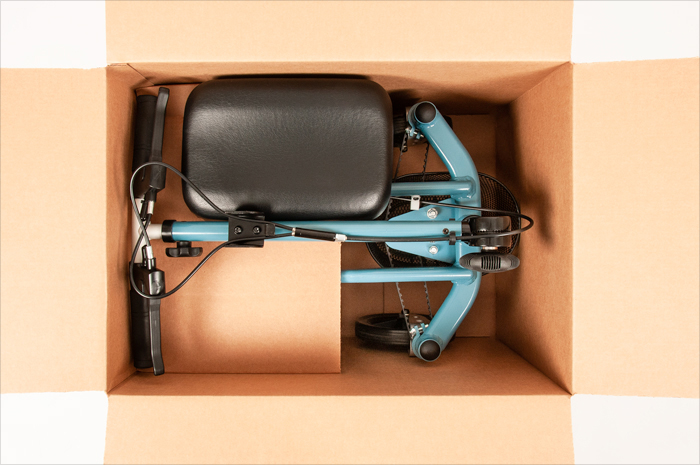
Step 1: Unfold the Frame
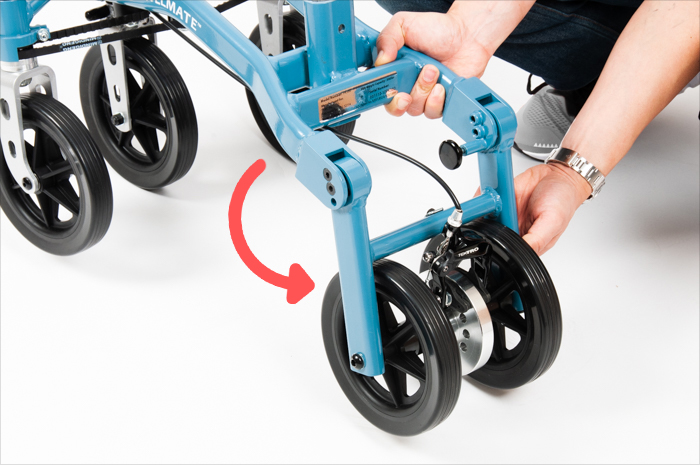
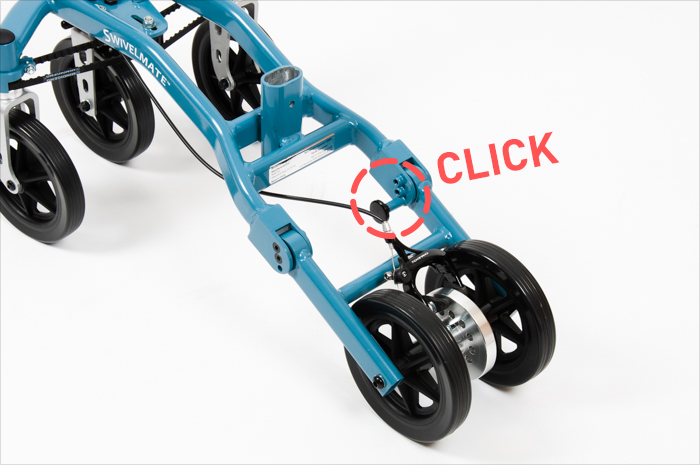
To unfold the Rear Wheel Frame—pull and hold the black pull-pin, then rotate the frame outwards halfway, then you can release the pull-pin. Continue to unfold the frame until it's fully extended; you'll hear a "click" when the Rear Wheel Frame is locked and secure.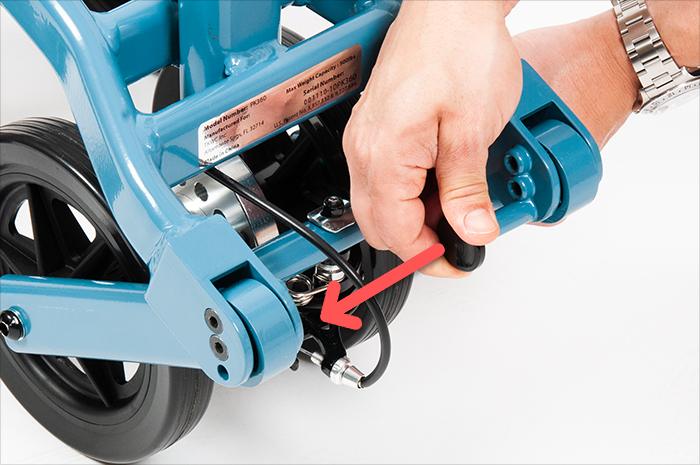
Step 2. Raise The Steering Column
The next step is to unfold the Steering Column into the upright position. Turn the release knob two to three turns (counter-clockwise) until the Steering Column loosens and can rotate freely.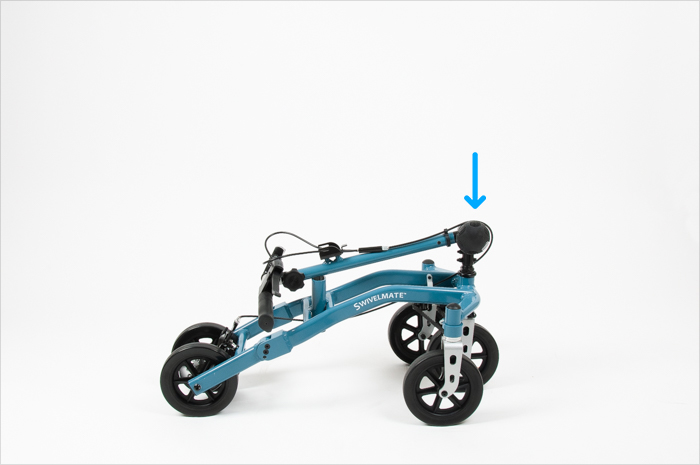
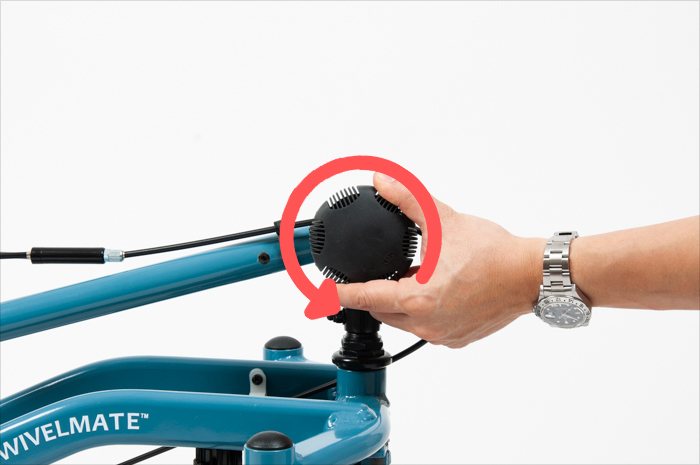
Rotate the column vertically, then tighten the knob (clockwise) to lock the column into place.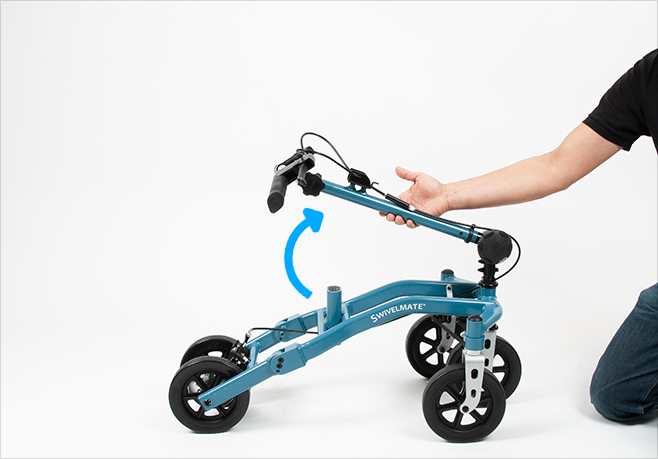
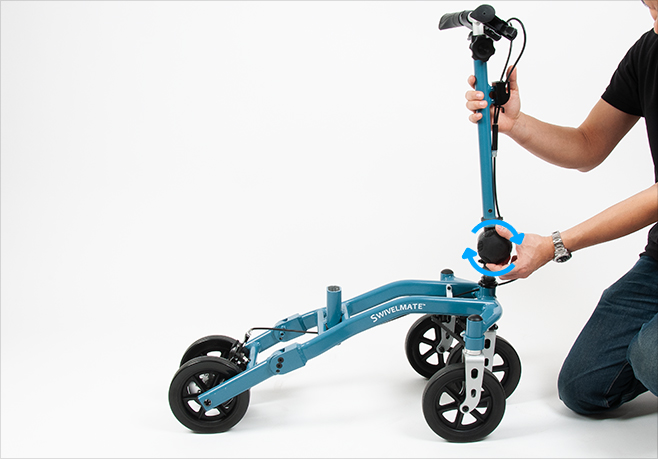
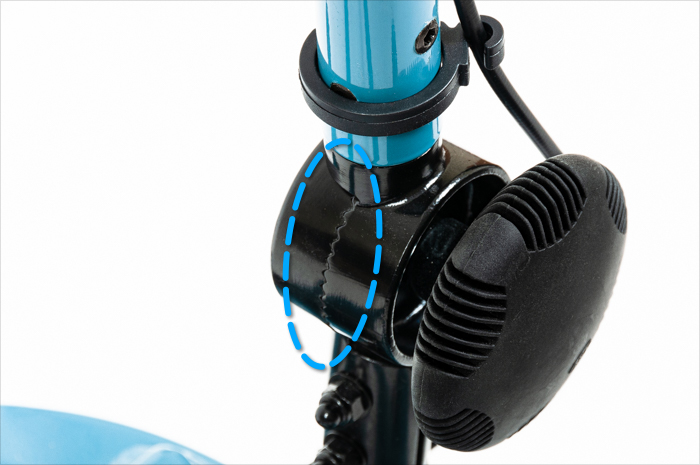
Make sure the folding mechanism "teeth" interlock.
Step 3. Attach the Knee-Rest
First, remove the adjustment knob and bolt from the knee-rest post.
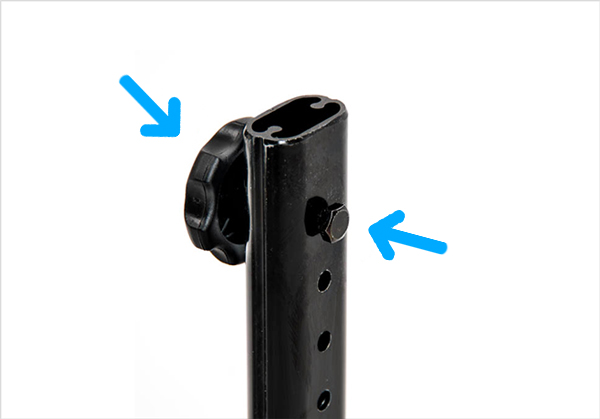
Secondly, we need to adjust the knee-rest post to accommodate a left or right leg injury. If you look underneath the Knee Rest Post, you will see labels instructing how to make the adjustment:—and R side facing forward for right leg injuries.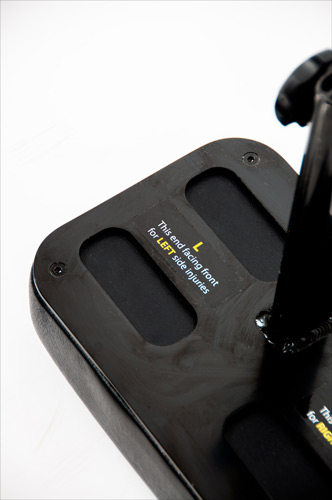 L side facing front (towards handlebars)
for left leg injuries.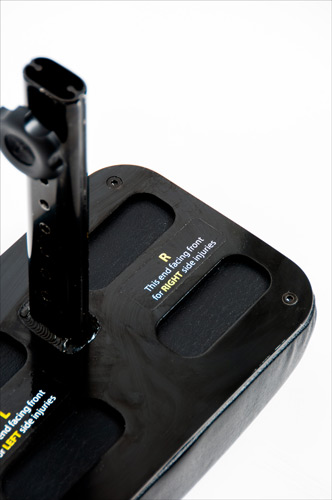 R side facing front (towards handlebars)
for right leg injuries.
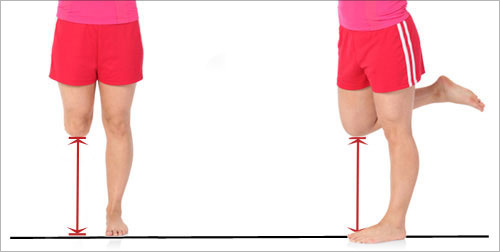
Next, we need to determine the proper knee rest height. Stand up straight, bend the knee of your injured leg 90 degrees. Take note of the distance between your bent knee and the floor; this distance is what the knee rest height should be set at.
Further Reading: How to Measure For Your Knee Walker
Once you've determined your knee rest orientation and proper height, insert the knee rest into the post holder.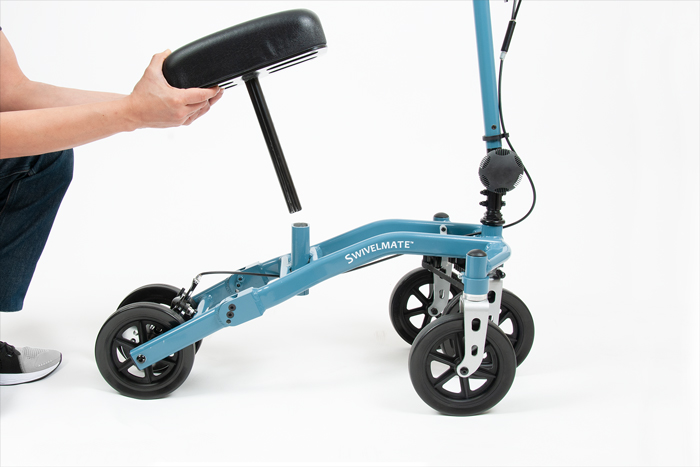
Insert the bolt into the post holder and align the bolt with the knee-rest post hole. Screw the knob finger tight.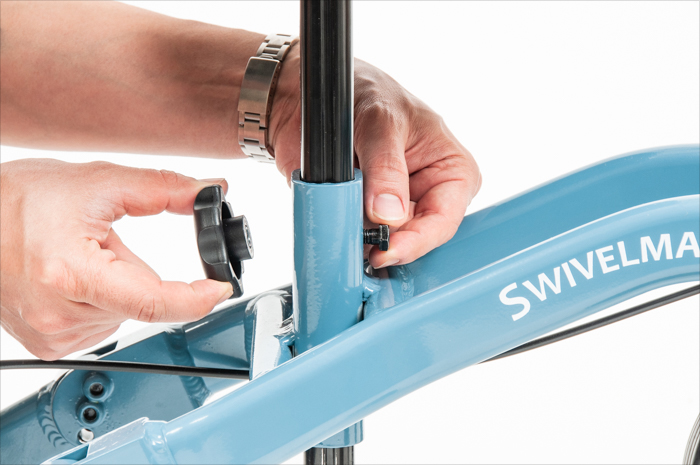
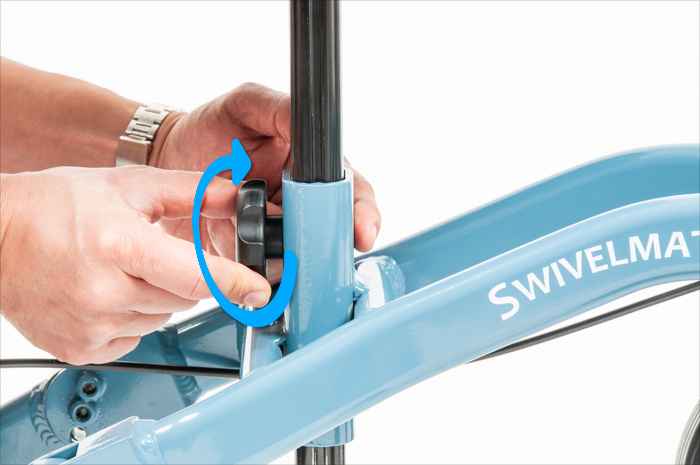
The bolt head should fit flush into the hex-shaped cutout, just like shown below. This will ensure that the knee-rest post is locked in securely.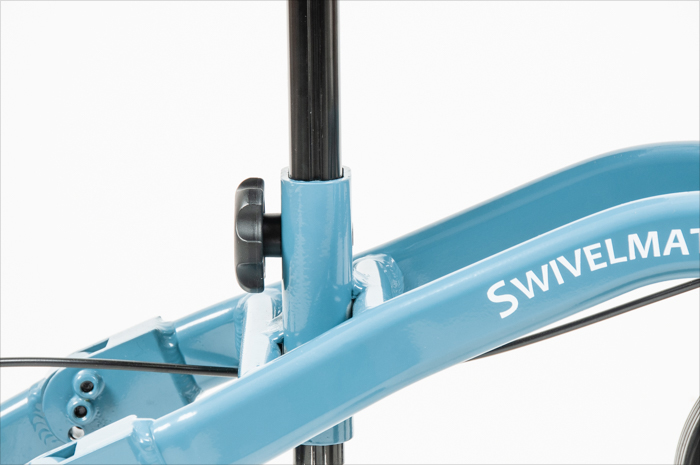
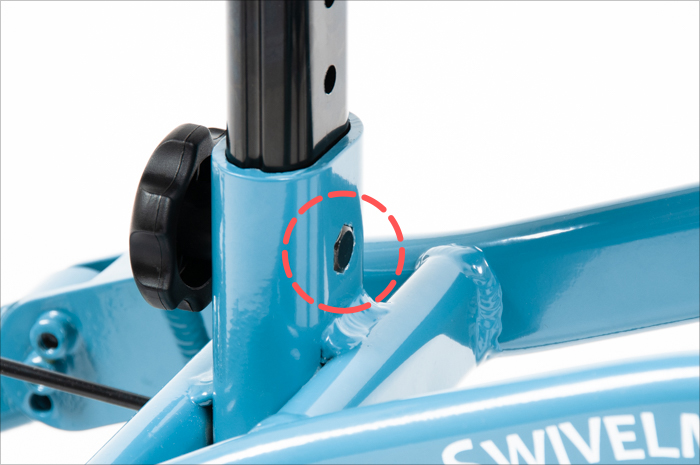
Here's what the knee-rest orientation should look like when installed for a left and right leg injury.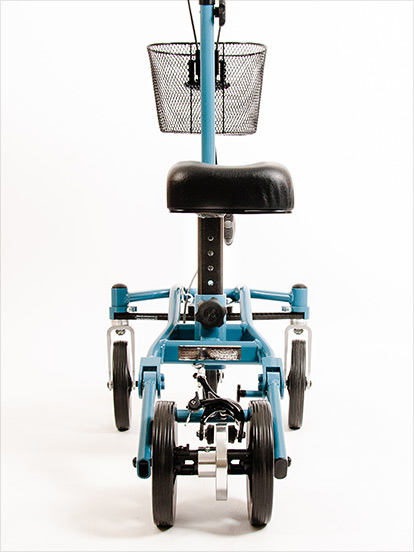 Knee rest pad setup to accommodate a right injured foot.
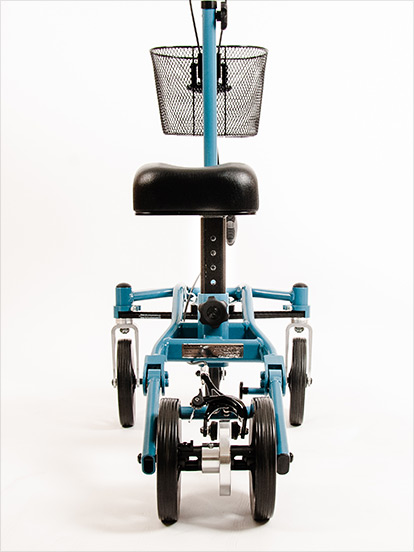 Knee rest pad setup to accommodate a left injured foot.
Step 4. Set the Handlebar Height
The proper handlebar height should be about the same height as your waist. Unscrew the adjustment knob, remove the bolt, and raise the bar to your waist height.
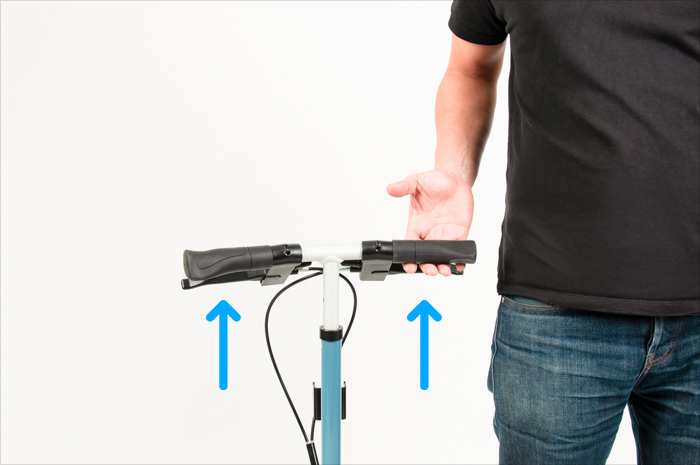
Once you've determined your appropriate height, lock the handlebar into place: insert the bolt and tighten the adjustment knob finger-tight.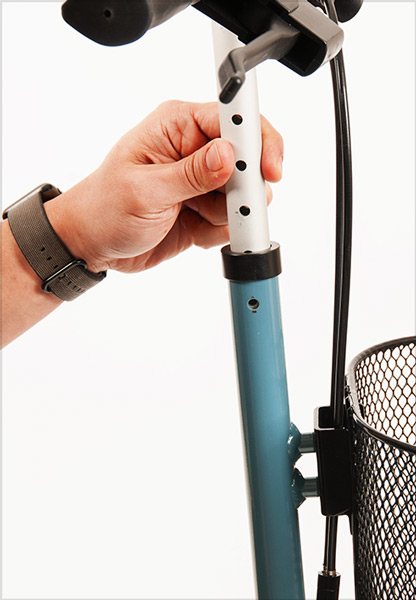
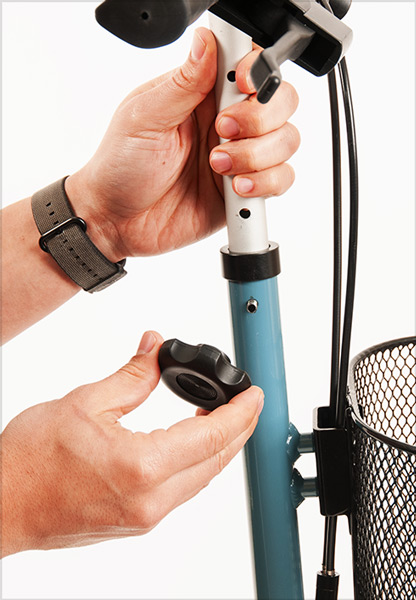
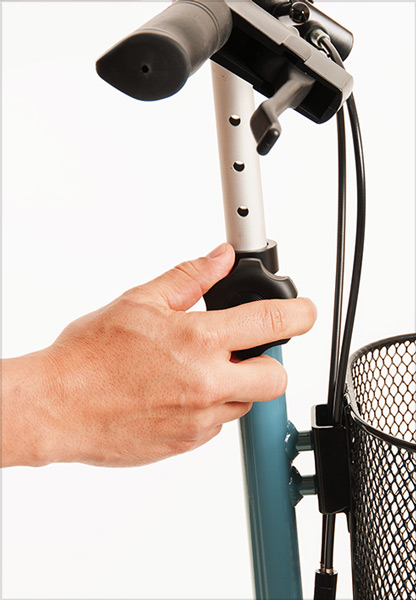
The bolt head should fit flush into the hex-shaped cutout, just like shown below. This will ensure the handlebar is locked in securely.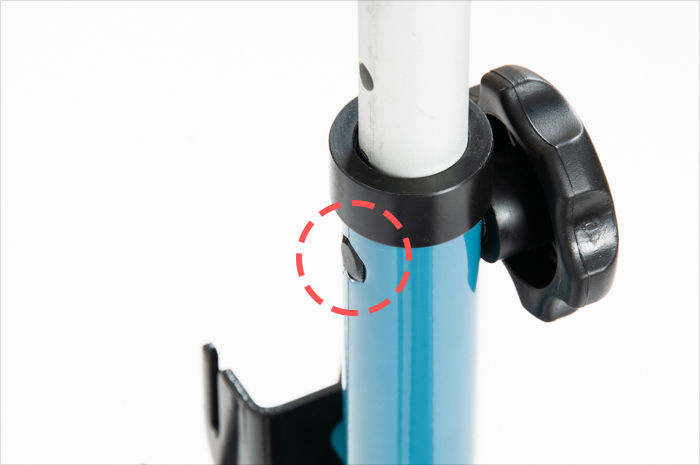
Step 5. Attach the Basket
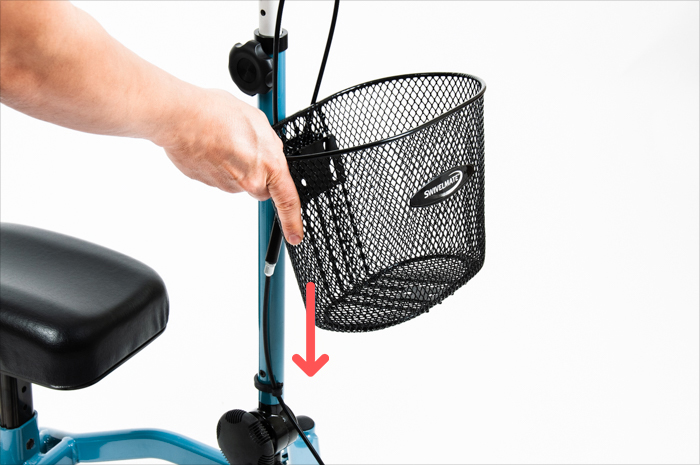
Insert the basket onto the bracket hooks and slide it down until it rests in place.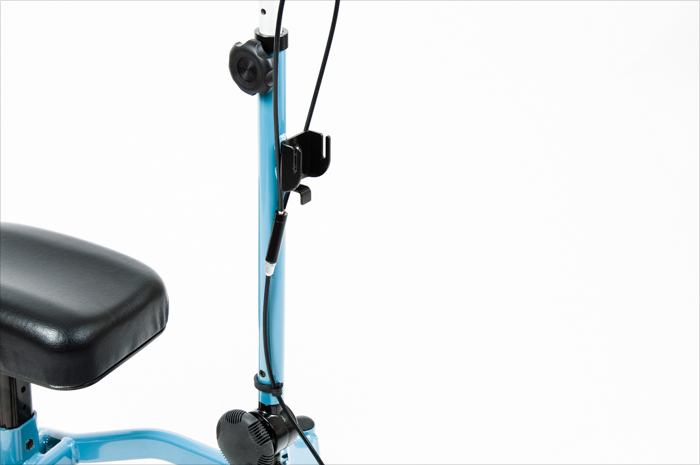
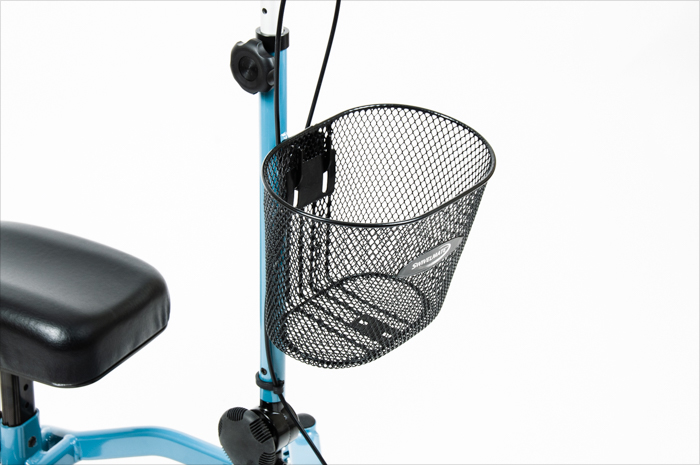
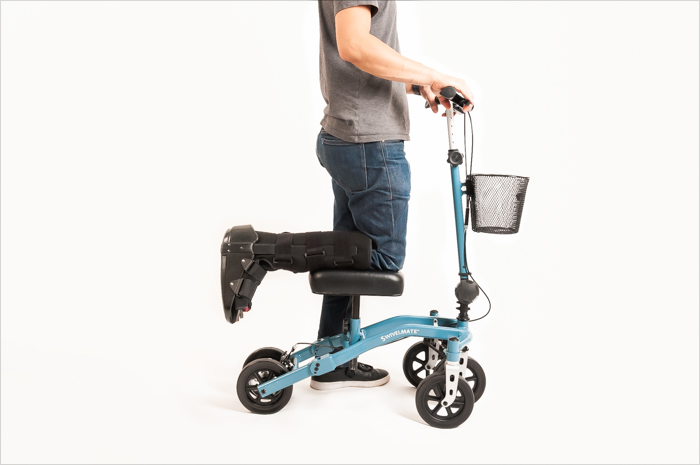
Your Swivelmate is now set up correctly and ready to use! You are now ready to recover from your injury with freedom to comfortably move around independently.
How to Return Your Knee Scooter Rental
When your rental period comes to an end and no longer need the knee walker (you can all us if you need more time), it's time to send the Swivelmate back to its home.
Click here for instructions on how to mail back your Swivelmate.
The links below are guides on how to get the most out of your Swivelmate knee walker.• How to Use the Parking Brakes • Knee Walker Safety Tips • How to Properly Use Your Knee Walker • How to Fold the Swivelmate for Traveling • How to Mail Back Your Swivelmate Rental
More Great Rent A Knee Walker News & Stories

